Birdhouse Plan

Finally, I took the time to write down/draw the plan I used to make birdhouses that I posted here some time ago. I made another house from standard pine lumber leftovers and made this drawing. It is based on 3/4″ thick lumber, so you may have to adjust if you use something thicker or thinner. One thing absent from the drawing is a 6″ x 1 1/2″ piece of aluminum flashing that I nailed to the top of the roof to cover the gap between the sides of the roof.

I used pine this time, but I prefer using cedar or something more weather resistant. If you use pine, paint or stain it the exterior with a good exterior oil-based enamel or penetrating oil–preferably a penetrating oil. If you can use cedar, then no finish is necessary.

Unfortunately, I gave the birdhouse away as a gift before I remembered to take a picture of it. But it was similar to these.
Download birdhouse plan
Progressive Dinner

It is beginning to look like a dining table, or at least the parts of a dining table. There is only one piece of the 5 left to be assembled–the center crosspiece. I have done the math and plan to cut and assemble it tomorrow. Believe it or not, the trigonometry/geometry I learned years ago does come in handy at times. I used the good old Pythagorean theorum to figure out the lengths of the pieces I will need to form the crossed members of the center support.

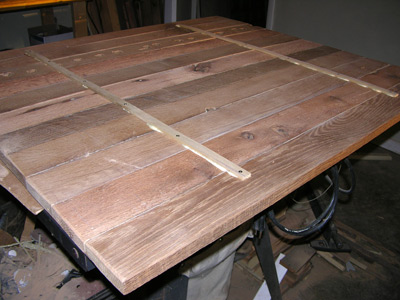
This picture shows the underside of one of the top halves. I added some thin strips to the underside. The glue has to be removed and it needs a final sand.

table top underneath

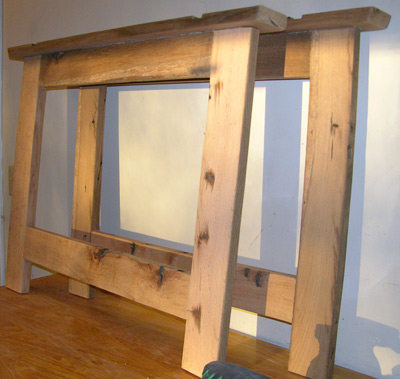
Here are the leg supports. They need some hand sanding to remove glue residue but otherwise these are ready to be assembled to the crosspiece when it is finished.

Table legs

Dining Table: progress

This weekend was beautiful here in AL. So, I was able to make progress on Kelly’s dining table. This first image shows one half of the top (leaned up against the wall), one of the leg supports, and the second half of the table on the floor. The larger spots on the table top have been filled and sanded to medium grade. Final sanding will wait until just before finishing with a penetrating oil. The leg support pictured has not been rough sanded yet. The second half of the table top is still about 10″ short of where it needs to be so I have a few more planks to fit.

Table Progress

The second leg support has been fitted and joined but the glue is drying as of now.

Table Leg Support

So it is coming along. It is going to be rustic and beautiful!

Sawdust

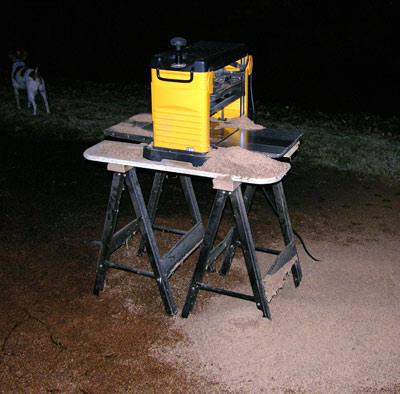
Time to plane more of the timbers. Reasons: 1) need some a bit thicker for the table supports and crosspiece, 2) need some more 1″ thick for the table top. Fitting the planks in the table top is an art and a science. Because of their age and exposure to the environment each timber has unique features. Often these include warps and twists in the lumber that make them less than straight. So when fitting these planks together lengthwise, it is often a matter of matching the slight curves. Not a horrible task, but I needed more options for the second half of the table top. Thus far it is about half the length it needs to be.

Polyurethane Glue

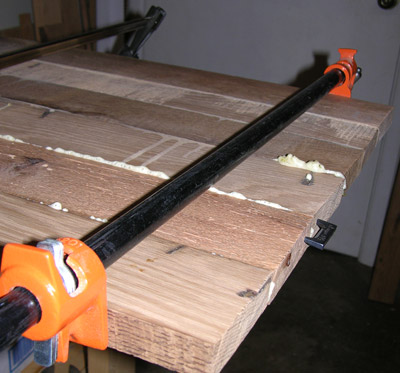
Notice the glue exuding from the butt joints. This is the glue I mentioned in my last posting. This one is Critical Bond from Moser’s. It is my favorite glue. I have tried a bunch of others, Gorilla Glue, Excel, even an Elmer’s take on it. The two best I have used are Critical Bond and Excel. Caution: If you get it on your skin and it dries there, it has to wear off. Before it is cured, it can be wiped off with mineral spirits.

Regarding sawdust, or in this case shavings, always plane outside. It makes a huge mess. (and this is nothing compared to the first batch of lumber I trimmed down for the table top)

Just Plane Shavings

Roughing It

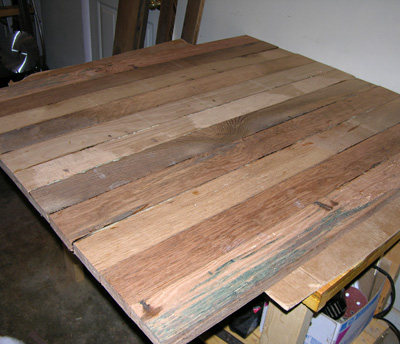
Kelly S.’s dining table is slowly taking shape. Weather and a regular job have hampered progress, but half of the table top has now been assembled. The planks were joined with grooved dowels and a polyurethane glue. I love this glue because it fills spaces, sands well, and holds like, well glue, or at least like glue should. Here are a couple pictures of the first half of the table top–rough though it is. Trust me it will be just gorgeous when it is sanded and finished.

Rough Table Top

This next one is a close up of the greenish spalting in the end plank. Did not see this in the wood for the Coastal Living table. I think it is from metal leaching from nails or roofing. Notice the nail tracing. There are plenty of cool features like this in salvaged wood.

Closeup of wood